Email marketing
Email marketing lets you write branded emails and send them to your clients from Time2book. You can add your class schedule and pricing plans to an email, then send it to all subscribed clients or to a specific group.
Sending emails is available on the Professional plan.
Step 1: Open Emails
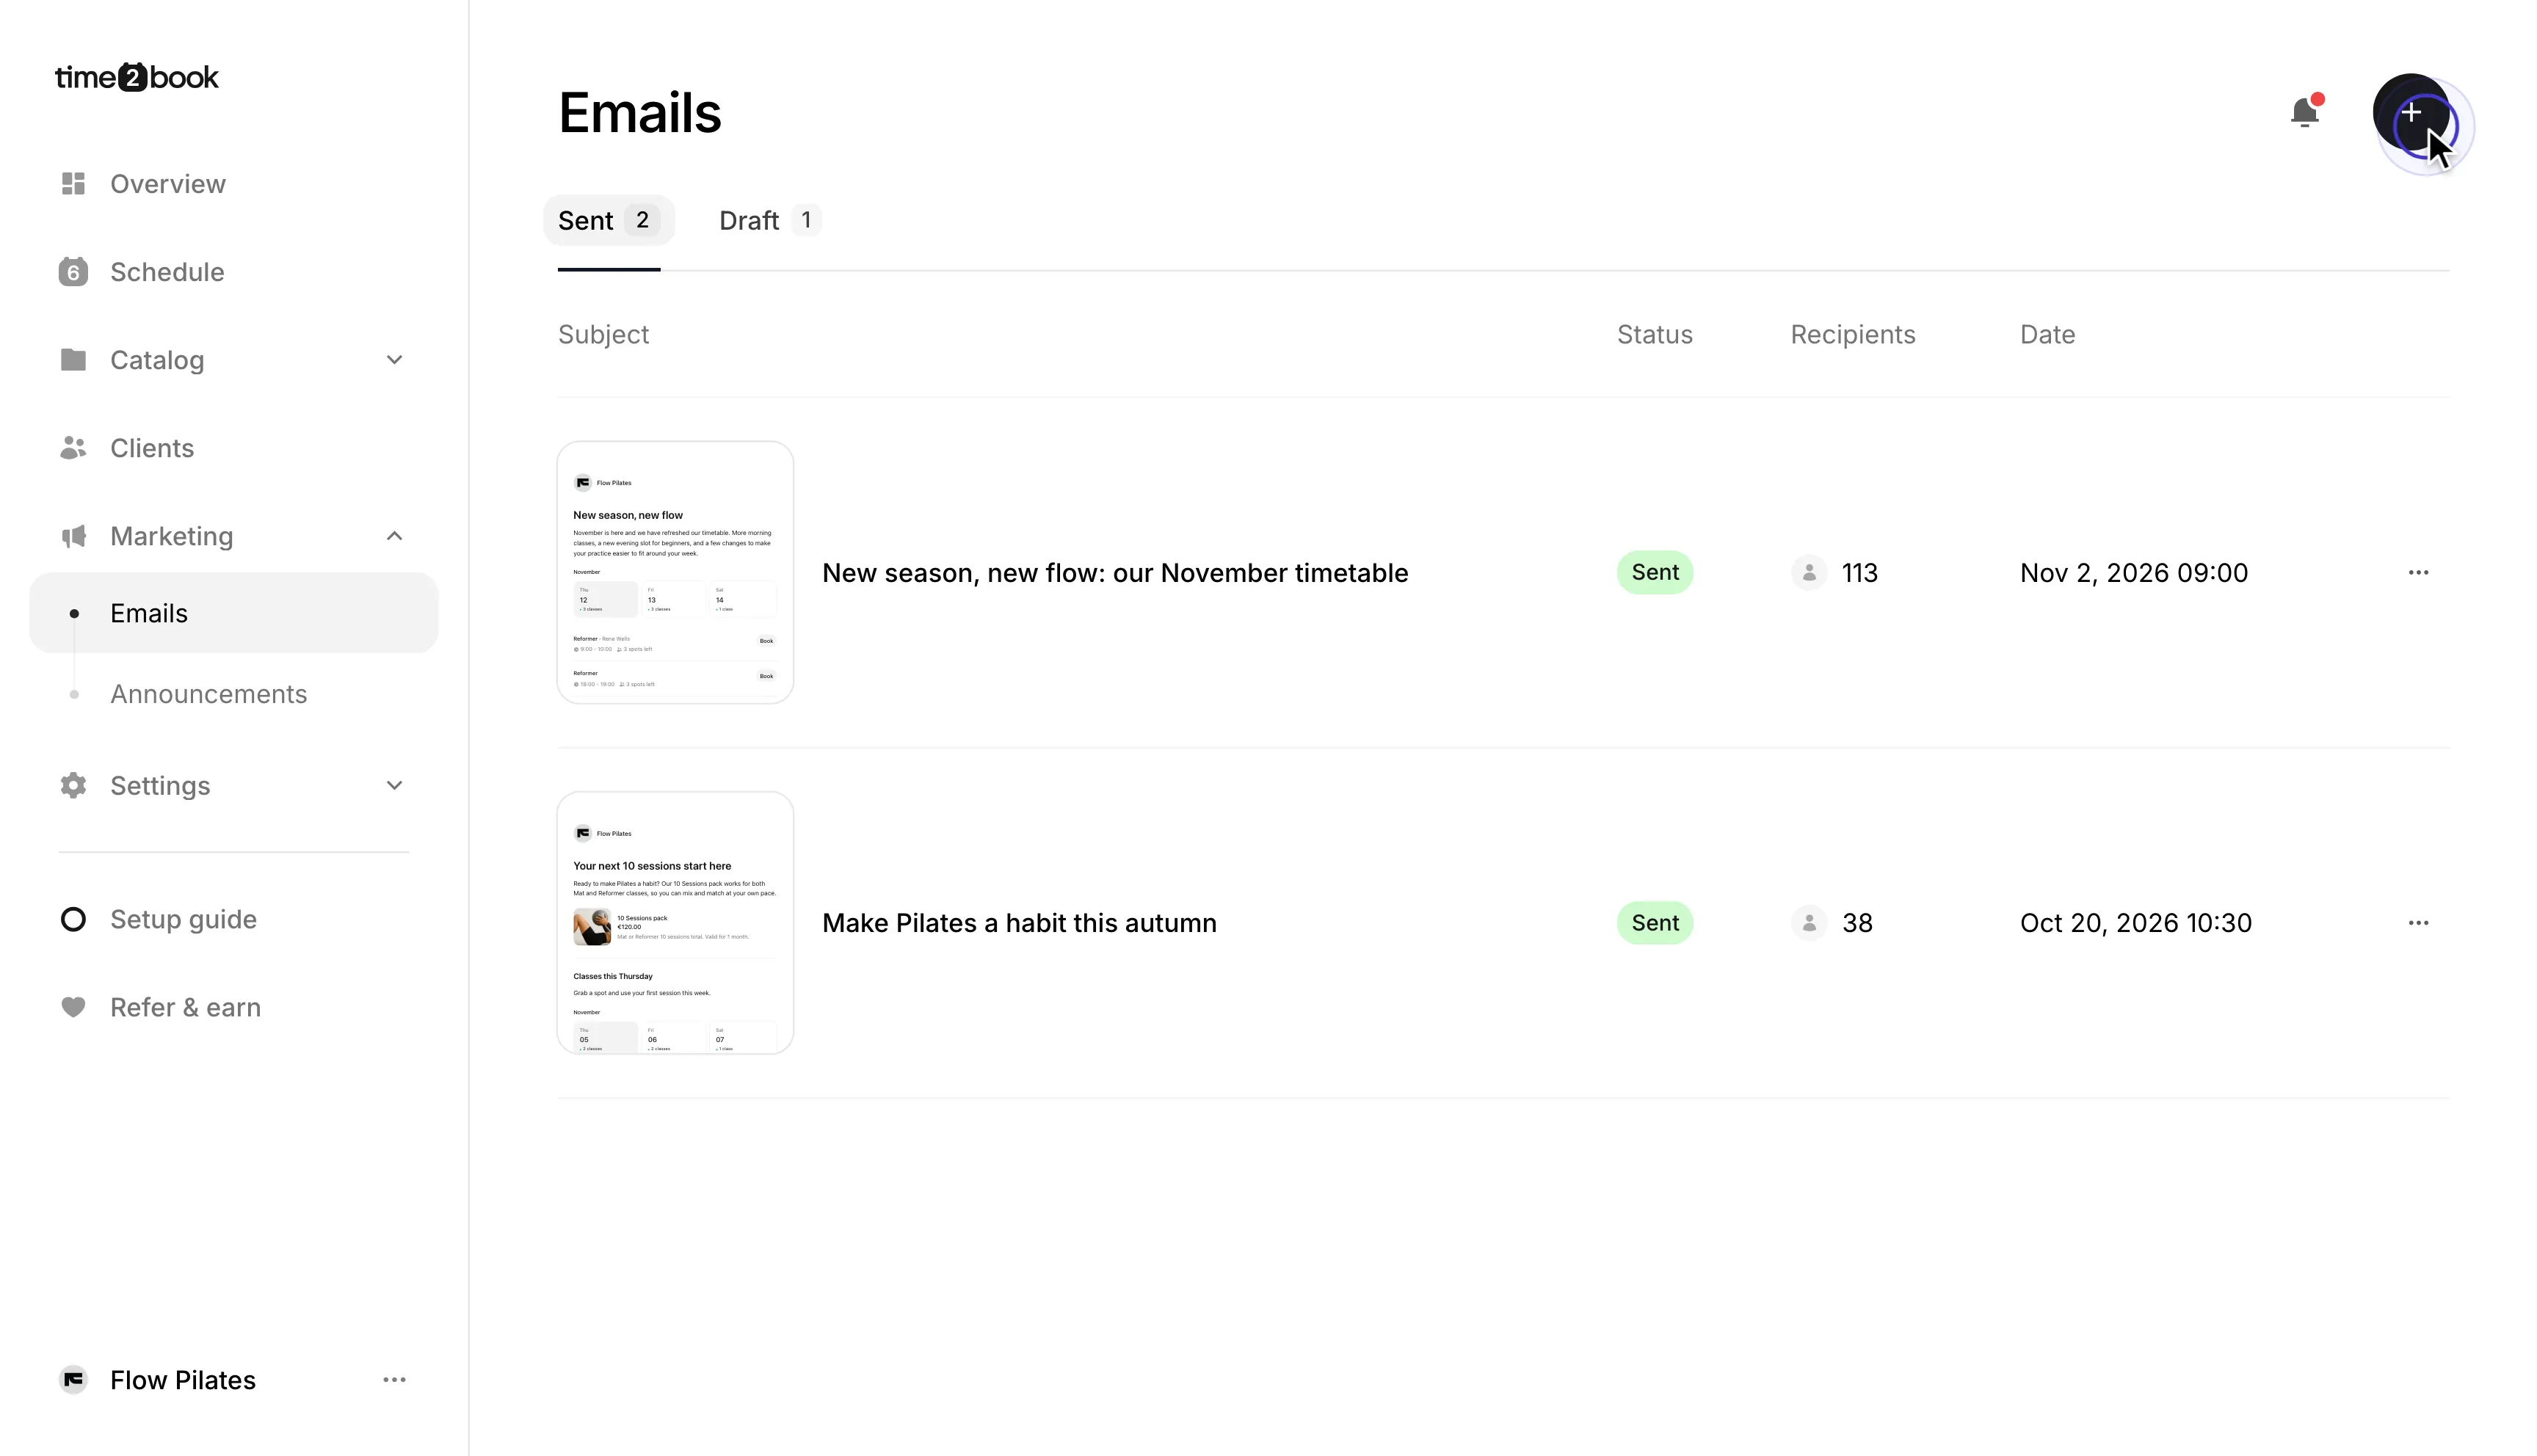
From the left-hand menu, go to Marketing → Emails. The Sent tab shows the emails you’ve sent, with the number of recipients and the date. The Draft tab shows emails you haven’t sent yet.
Click the + button to start a new email.
Step 2: Write your email
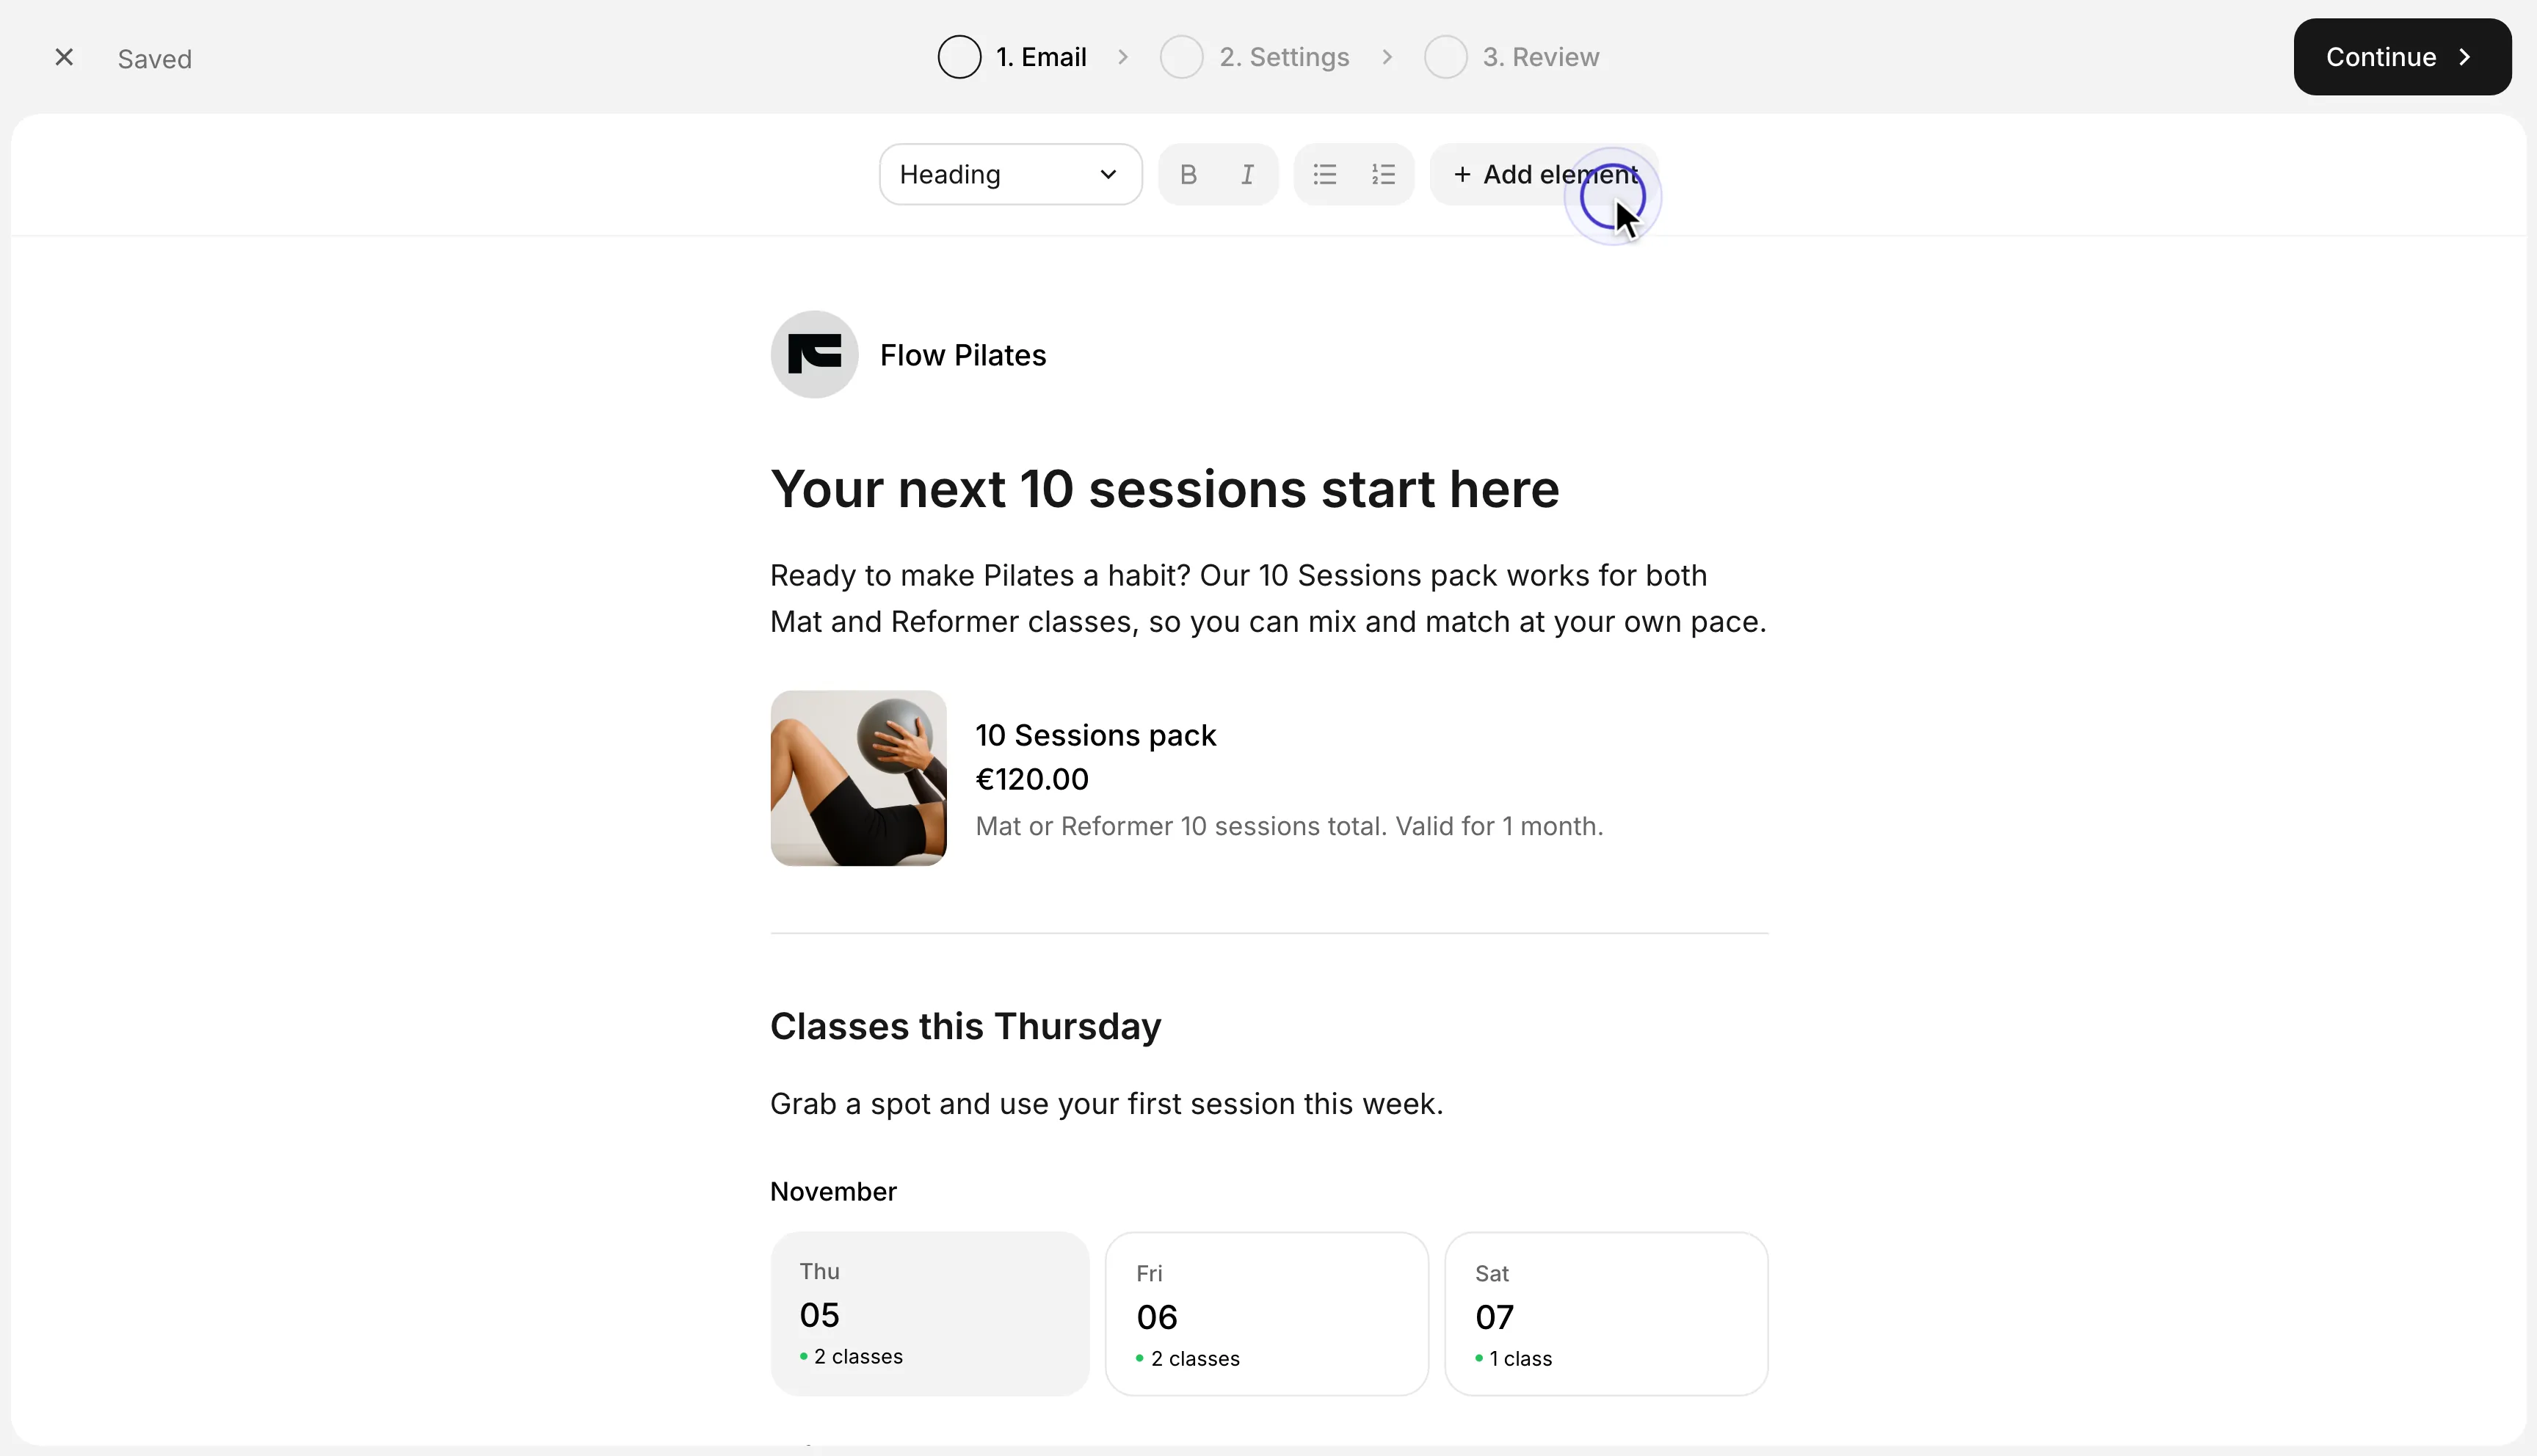
Type your message in the editor. Use the toolbar to add headings, bold or italic text, and lists.
Your email is saved automatically as a draft, so you can close it and finish it later.
Step 3: Add elements
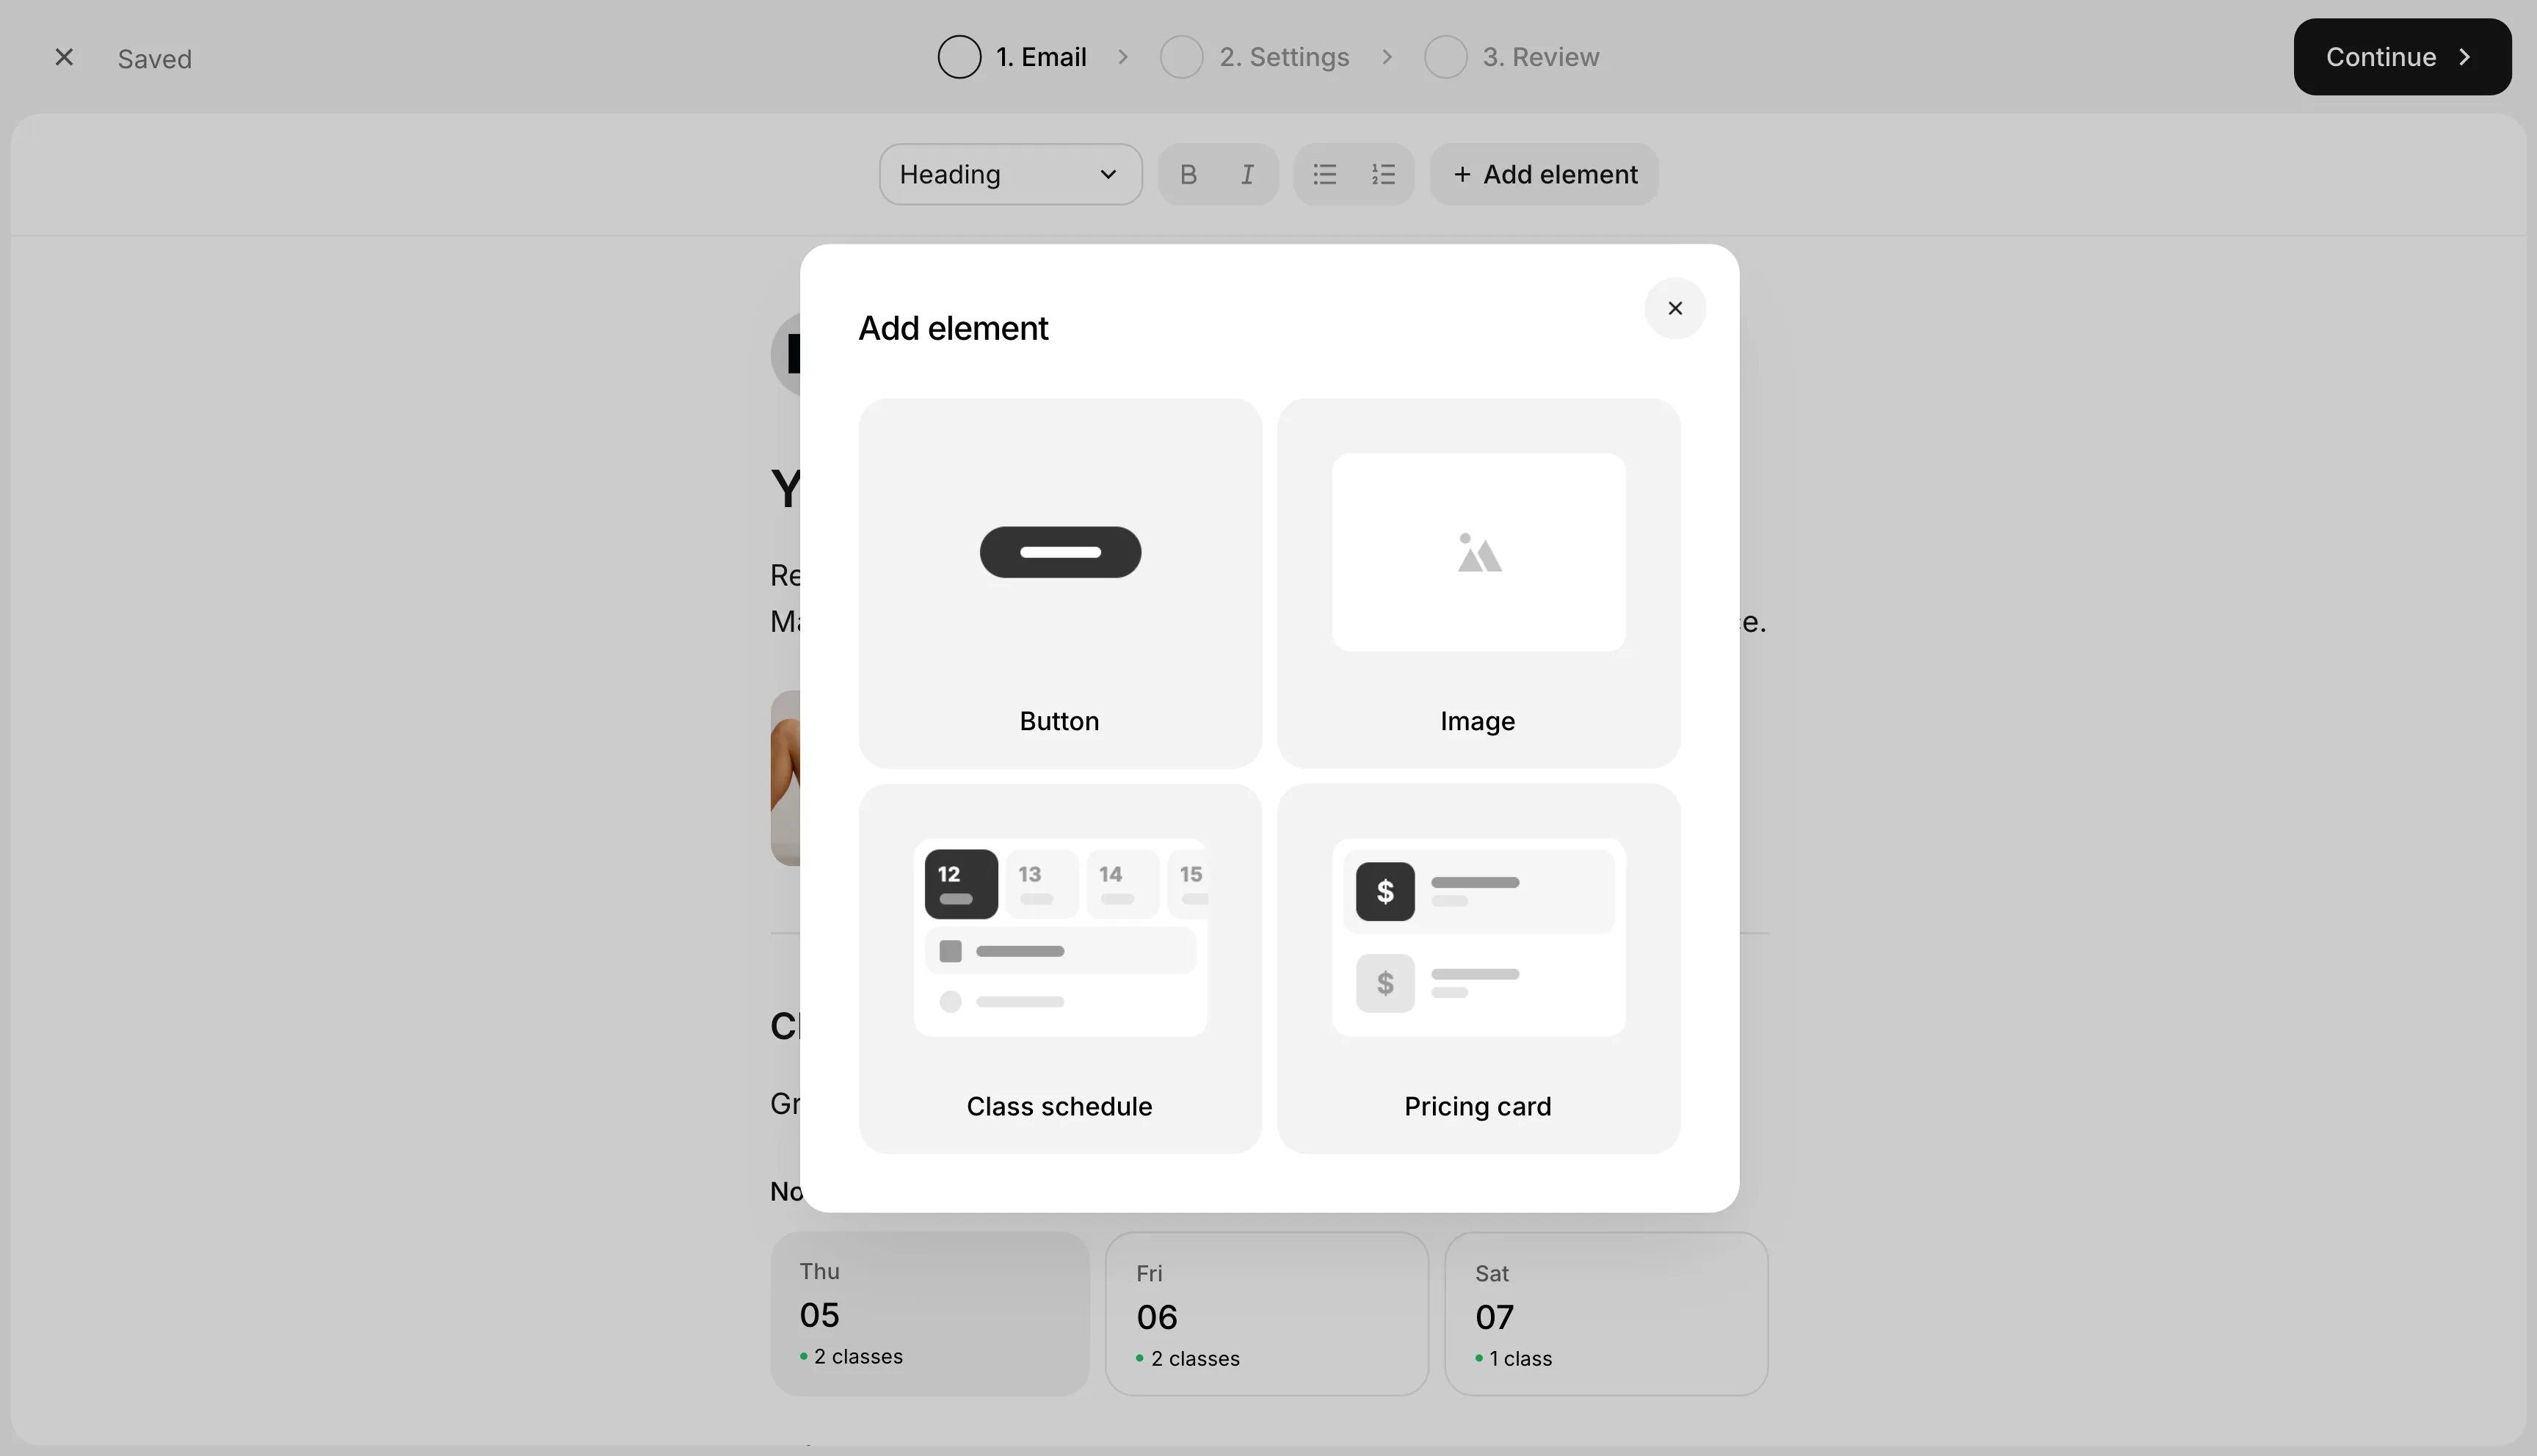
Click Add element to add more to your email:
- Button – Link clients to a page.
- Image – Upload a photo or banner.
- Class schedule – Show classes for a day you choose, with buttons to book.
- Pricing card – Show a membership or pack, with its price and a link to buy it.
To add a divider line, type --- at the start of a new line.
When your email is ready, click Continue.
Step 4: Add a subject and choose who gets the email
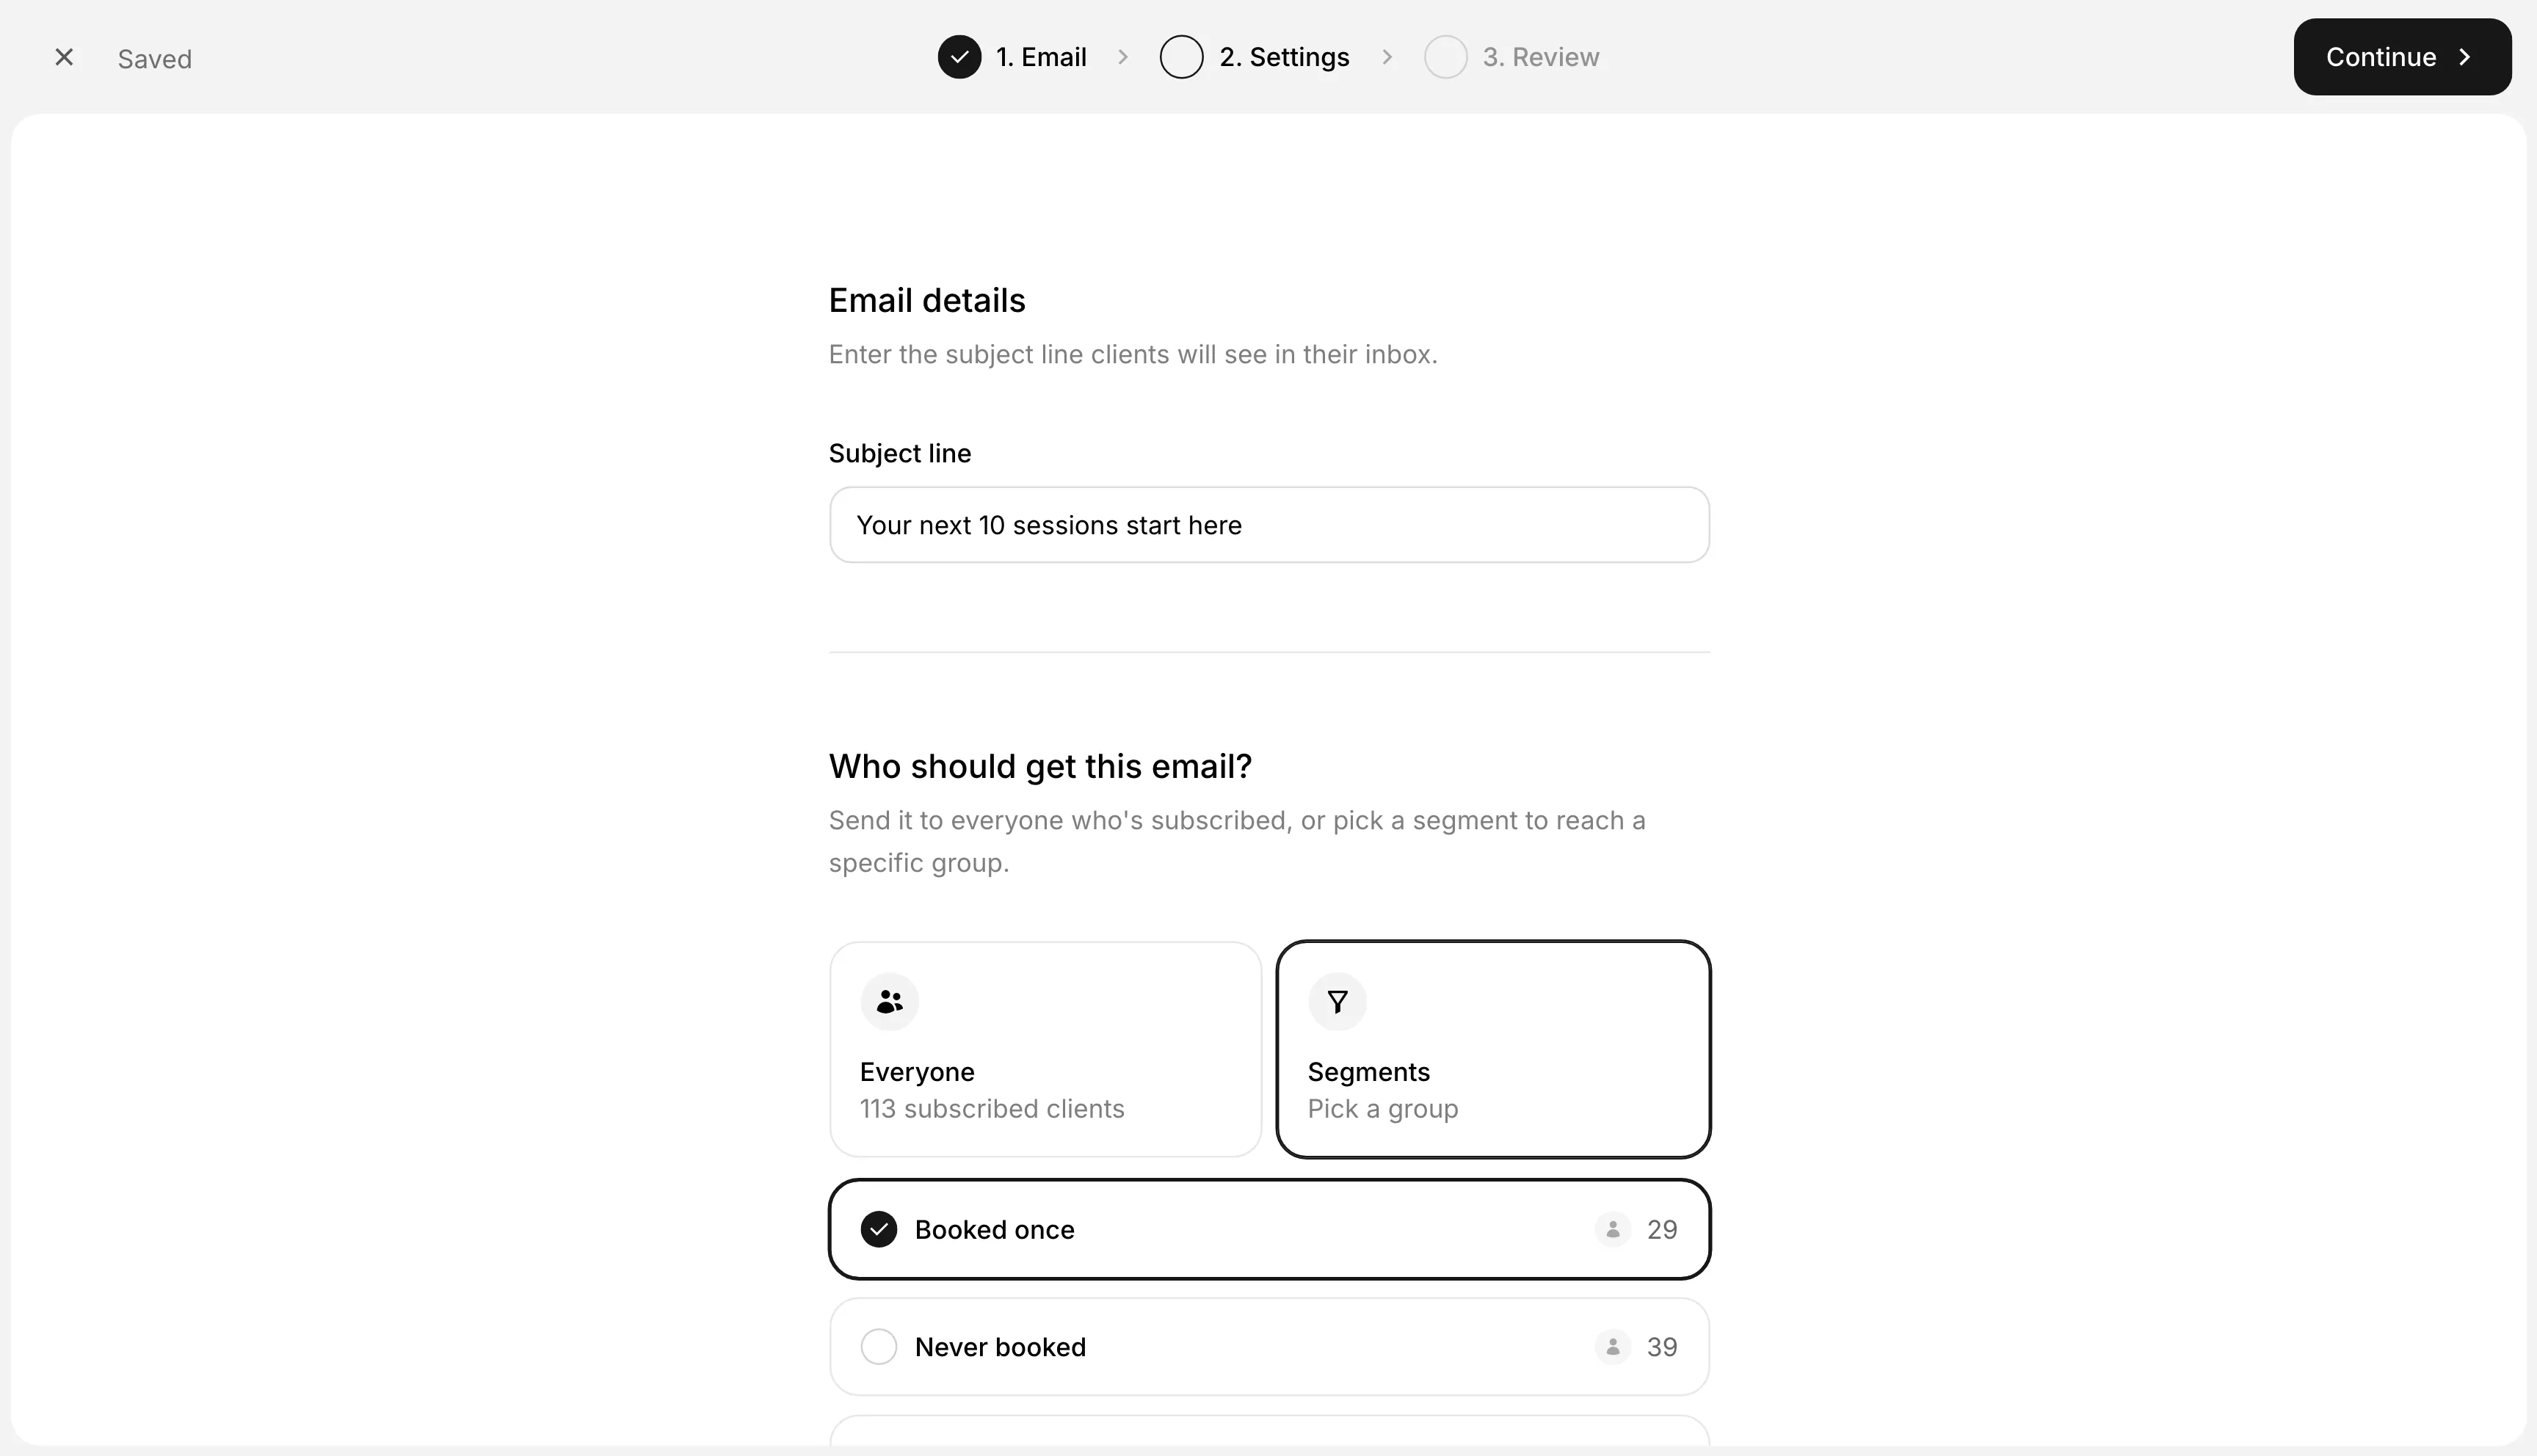
Enter the Subject line clients will see in their inbox.
Then choose your recipients:
- Everyone – All clients subscribed to your emails.
- Segments – Only the clients in a segment you pick, such as clients who have booked once.
The number next to each option shows how many subscribed clients will get the email. Click Continue.
Step 5: Review and send
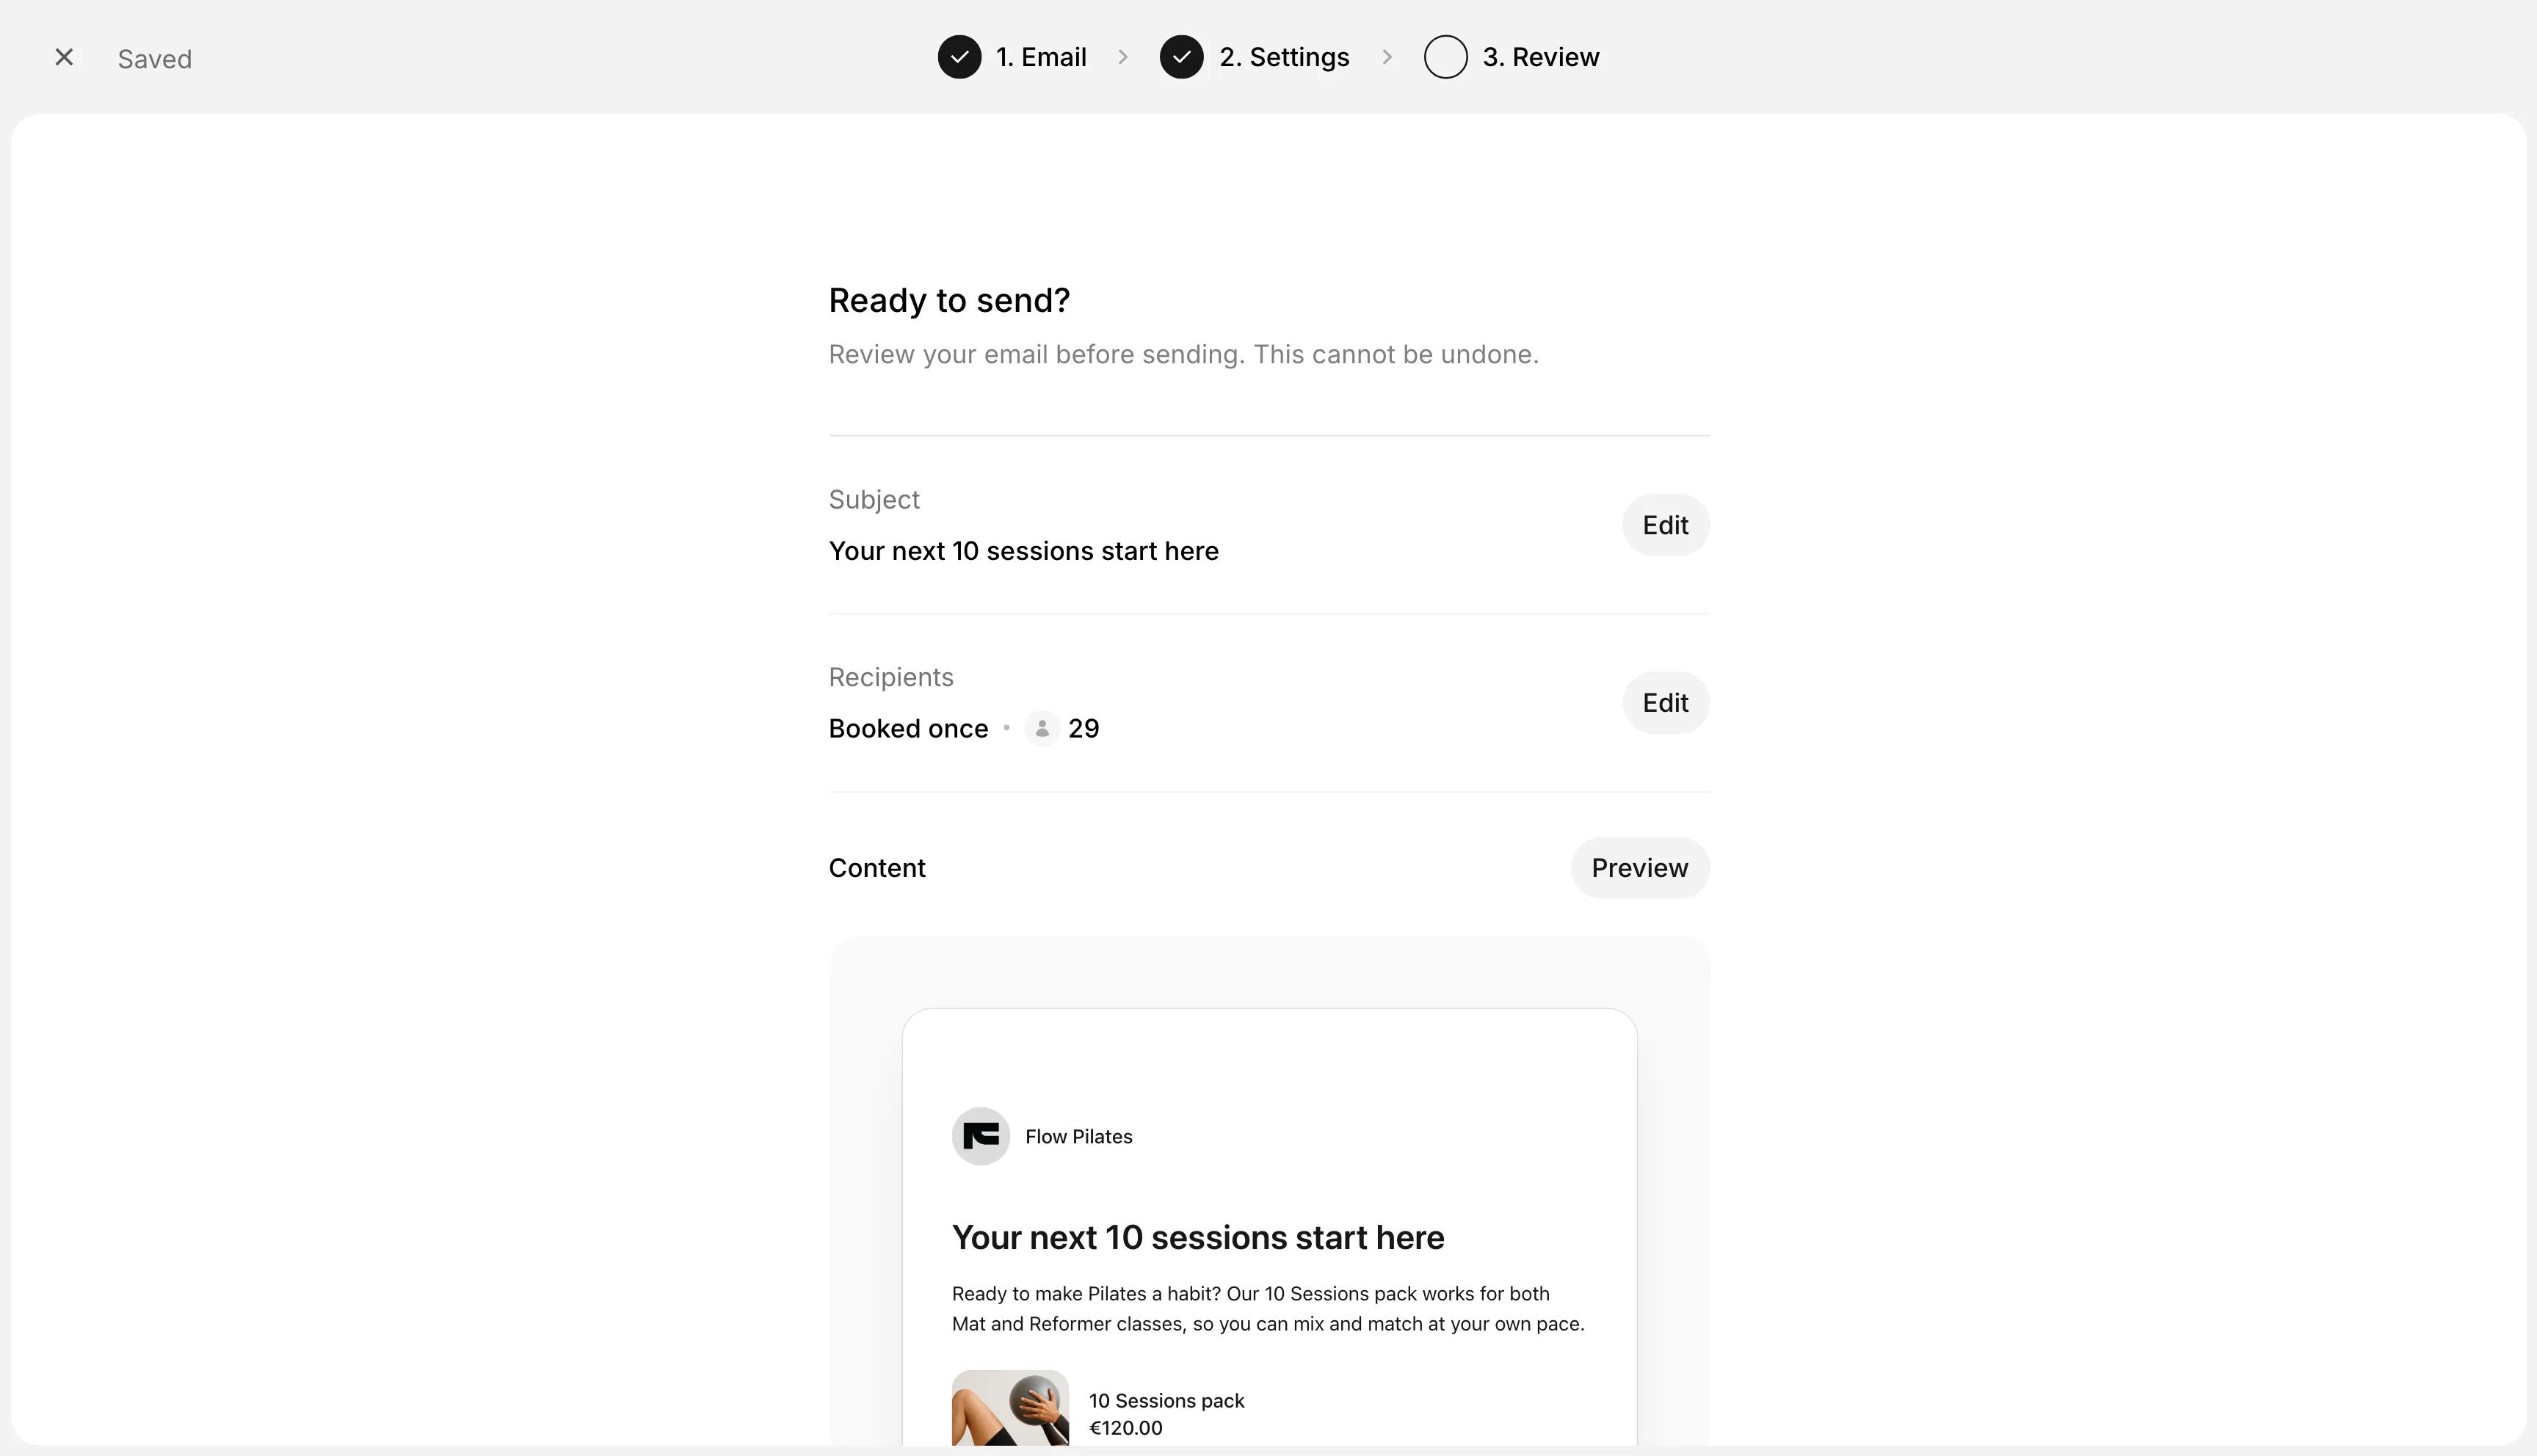
Check the subject, the recipients and the content. Click Edit to change the details, or Preview to see the full email.
When everything looks right, scroll down and click Send email. You can’t undo this.
Step 6: View sent emails
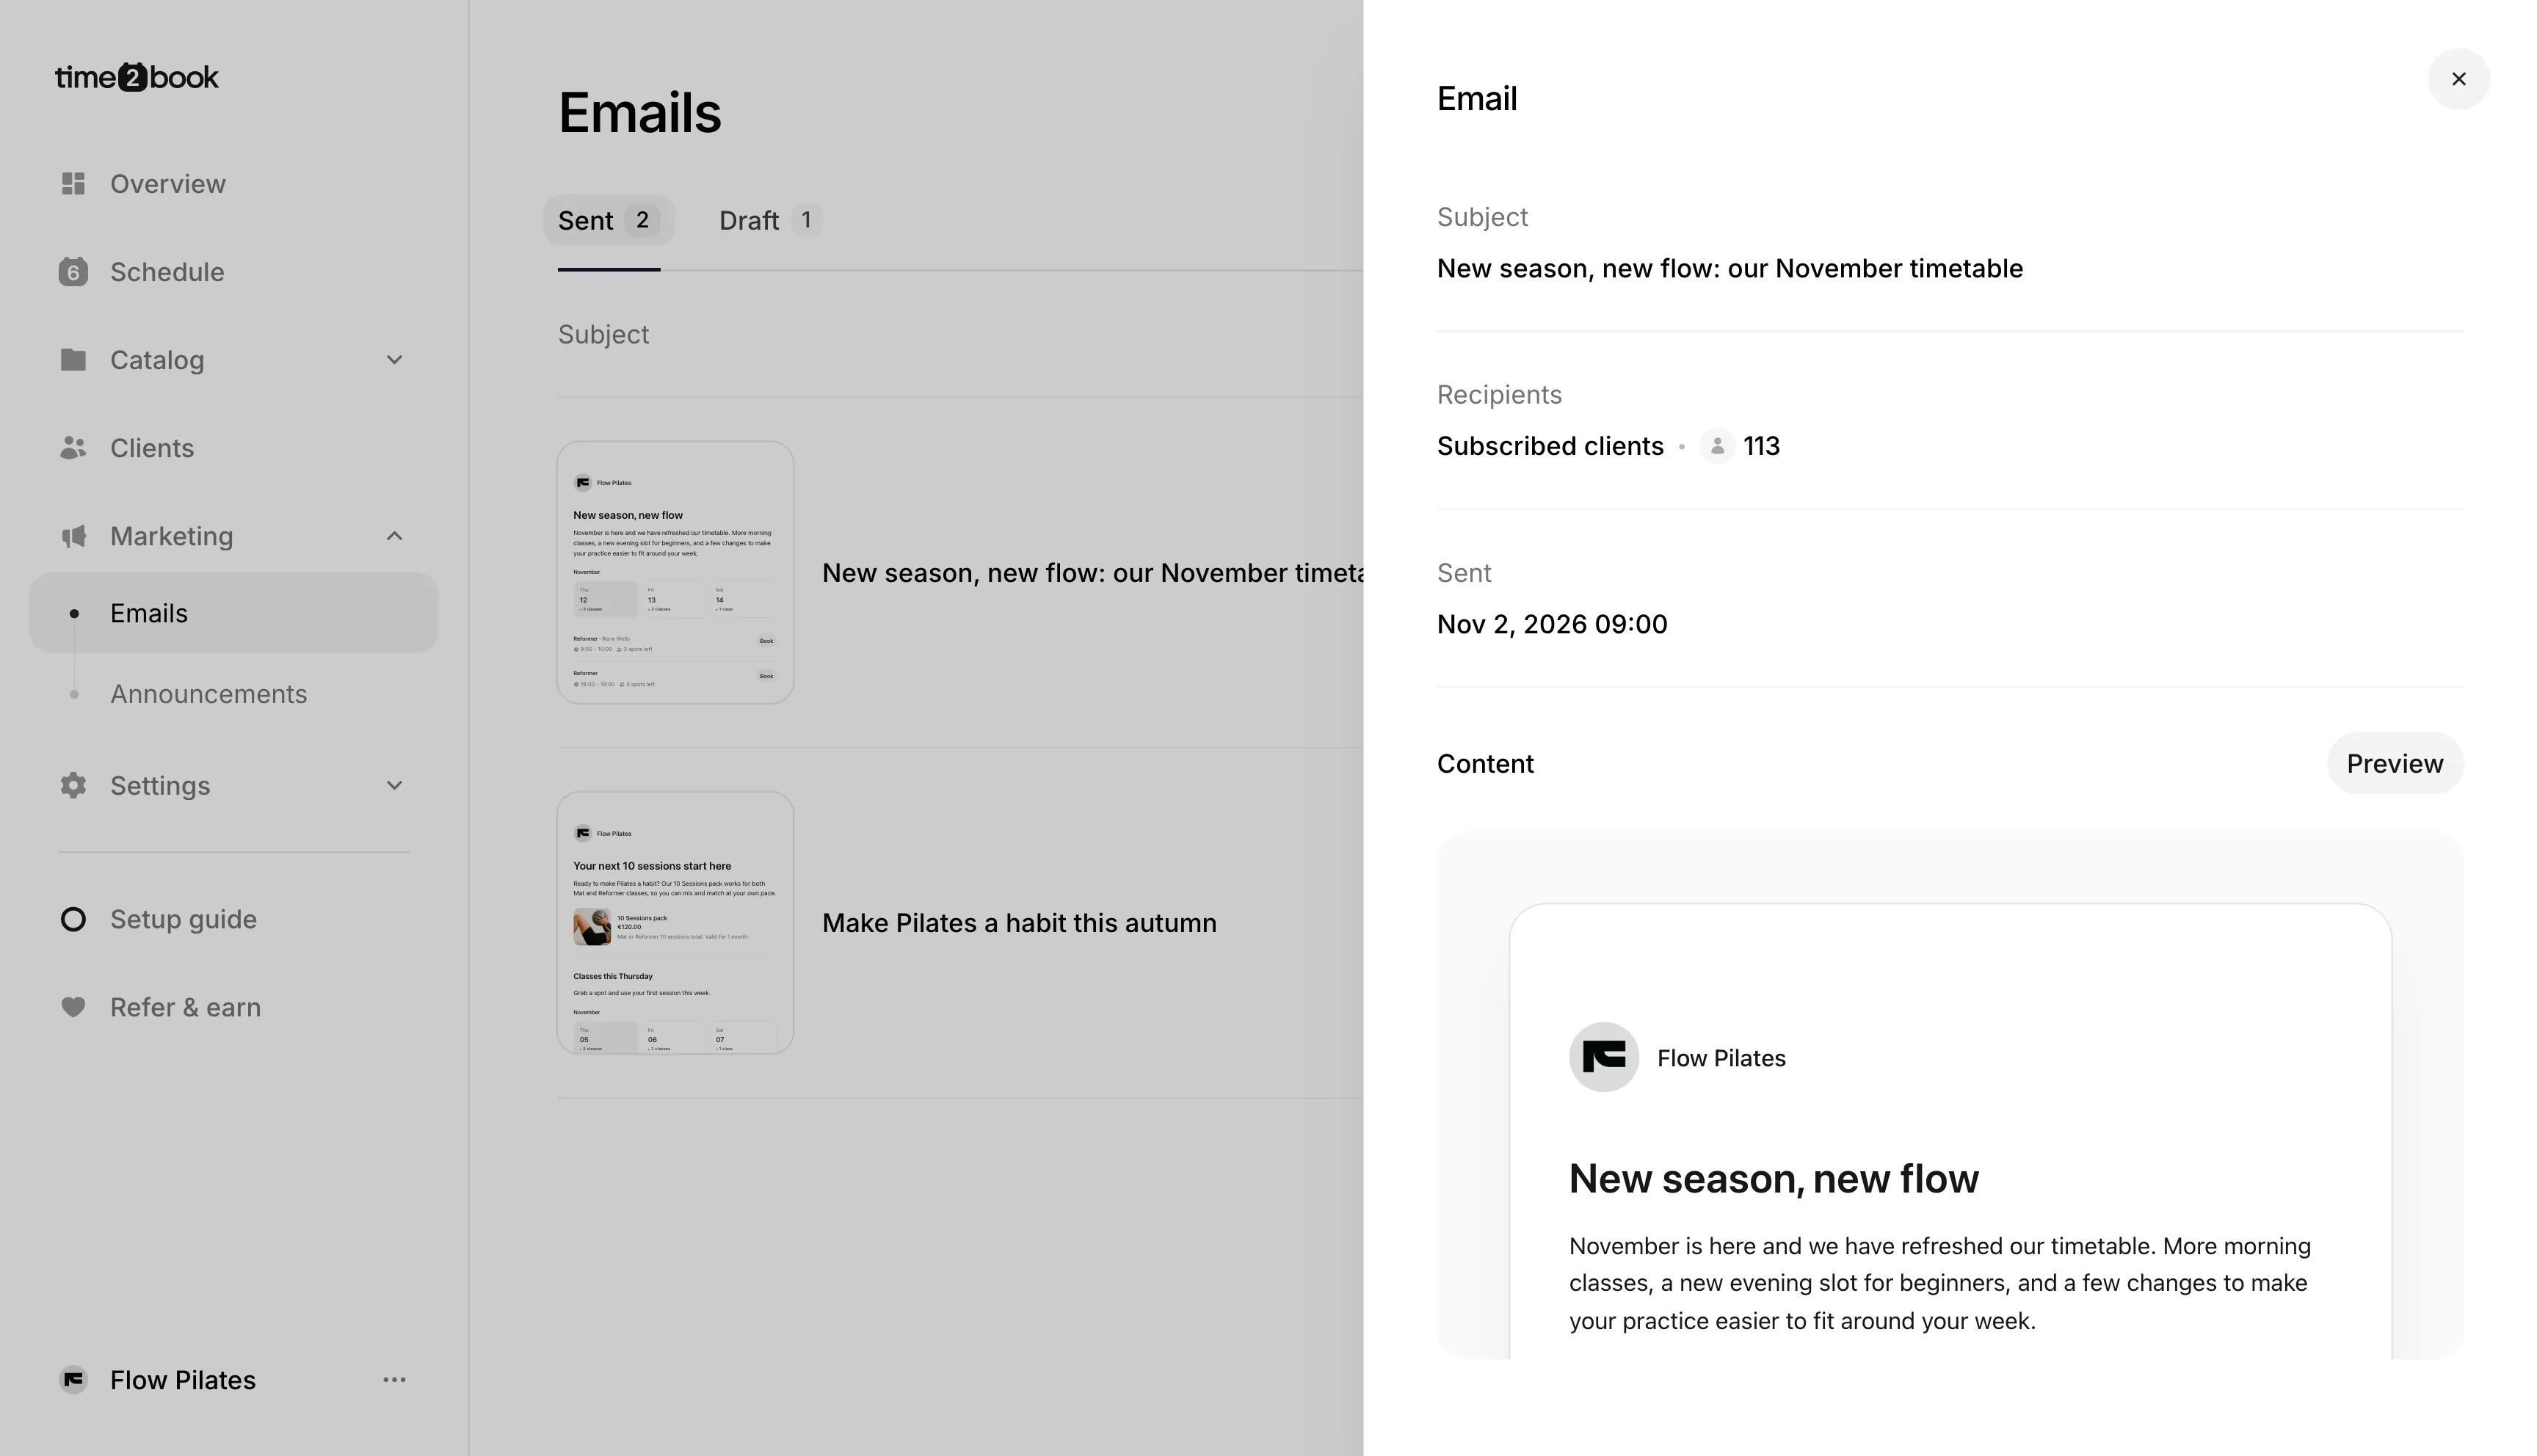
Your email now appears in the Sent tab. Click ⋯ next to it and choose View to see its details.
To reuse an email, click ⋯ and choose Copy to drafts.
Create a segment
A segment is a group of clients that updates itself. Clients join or leave as they start or stop matching your filters. Read more about segments.
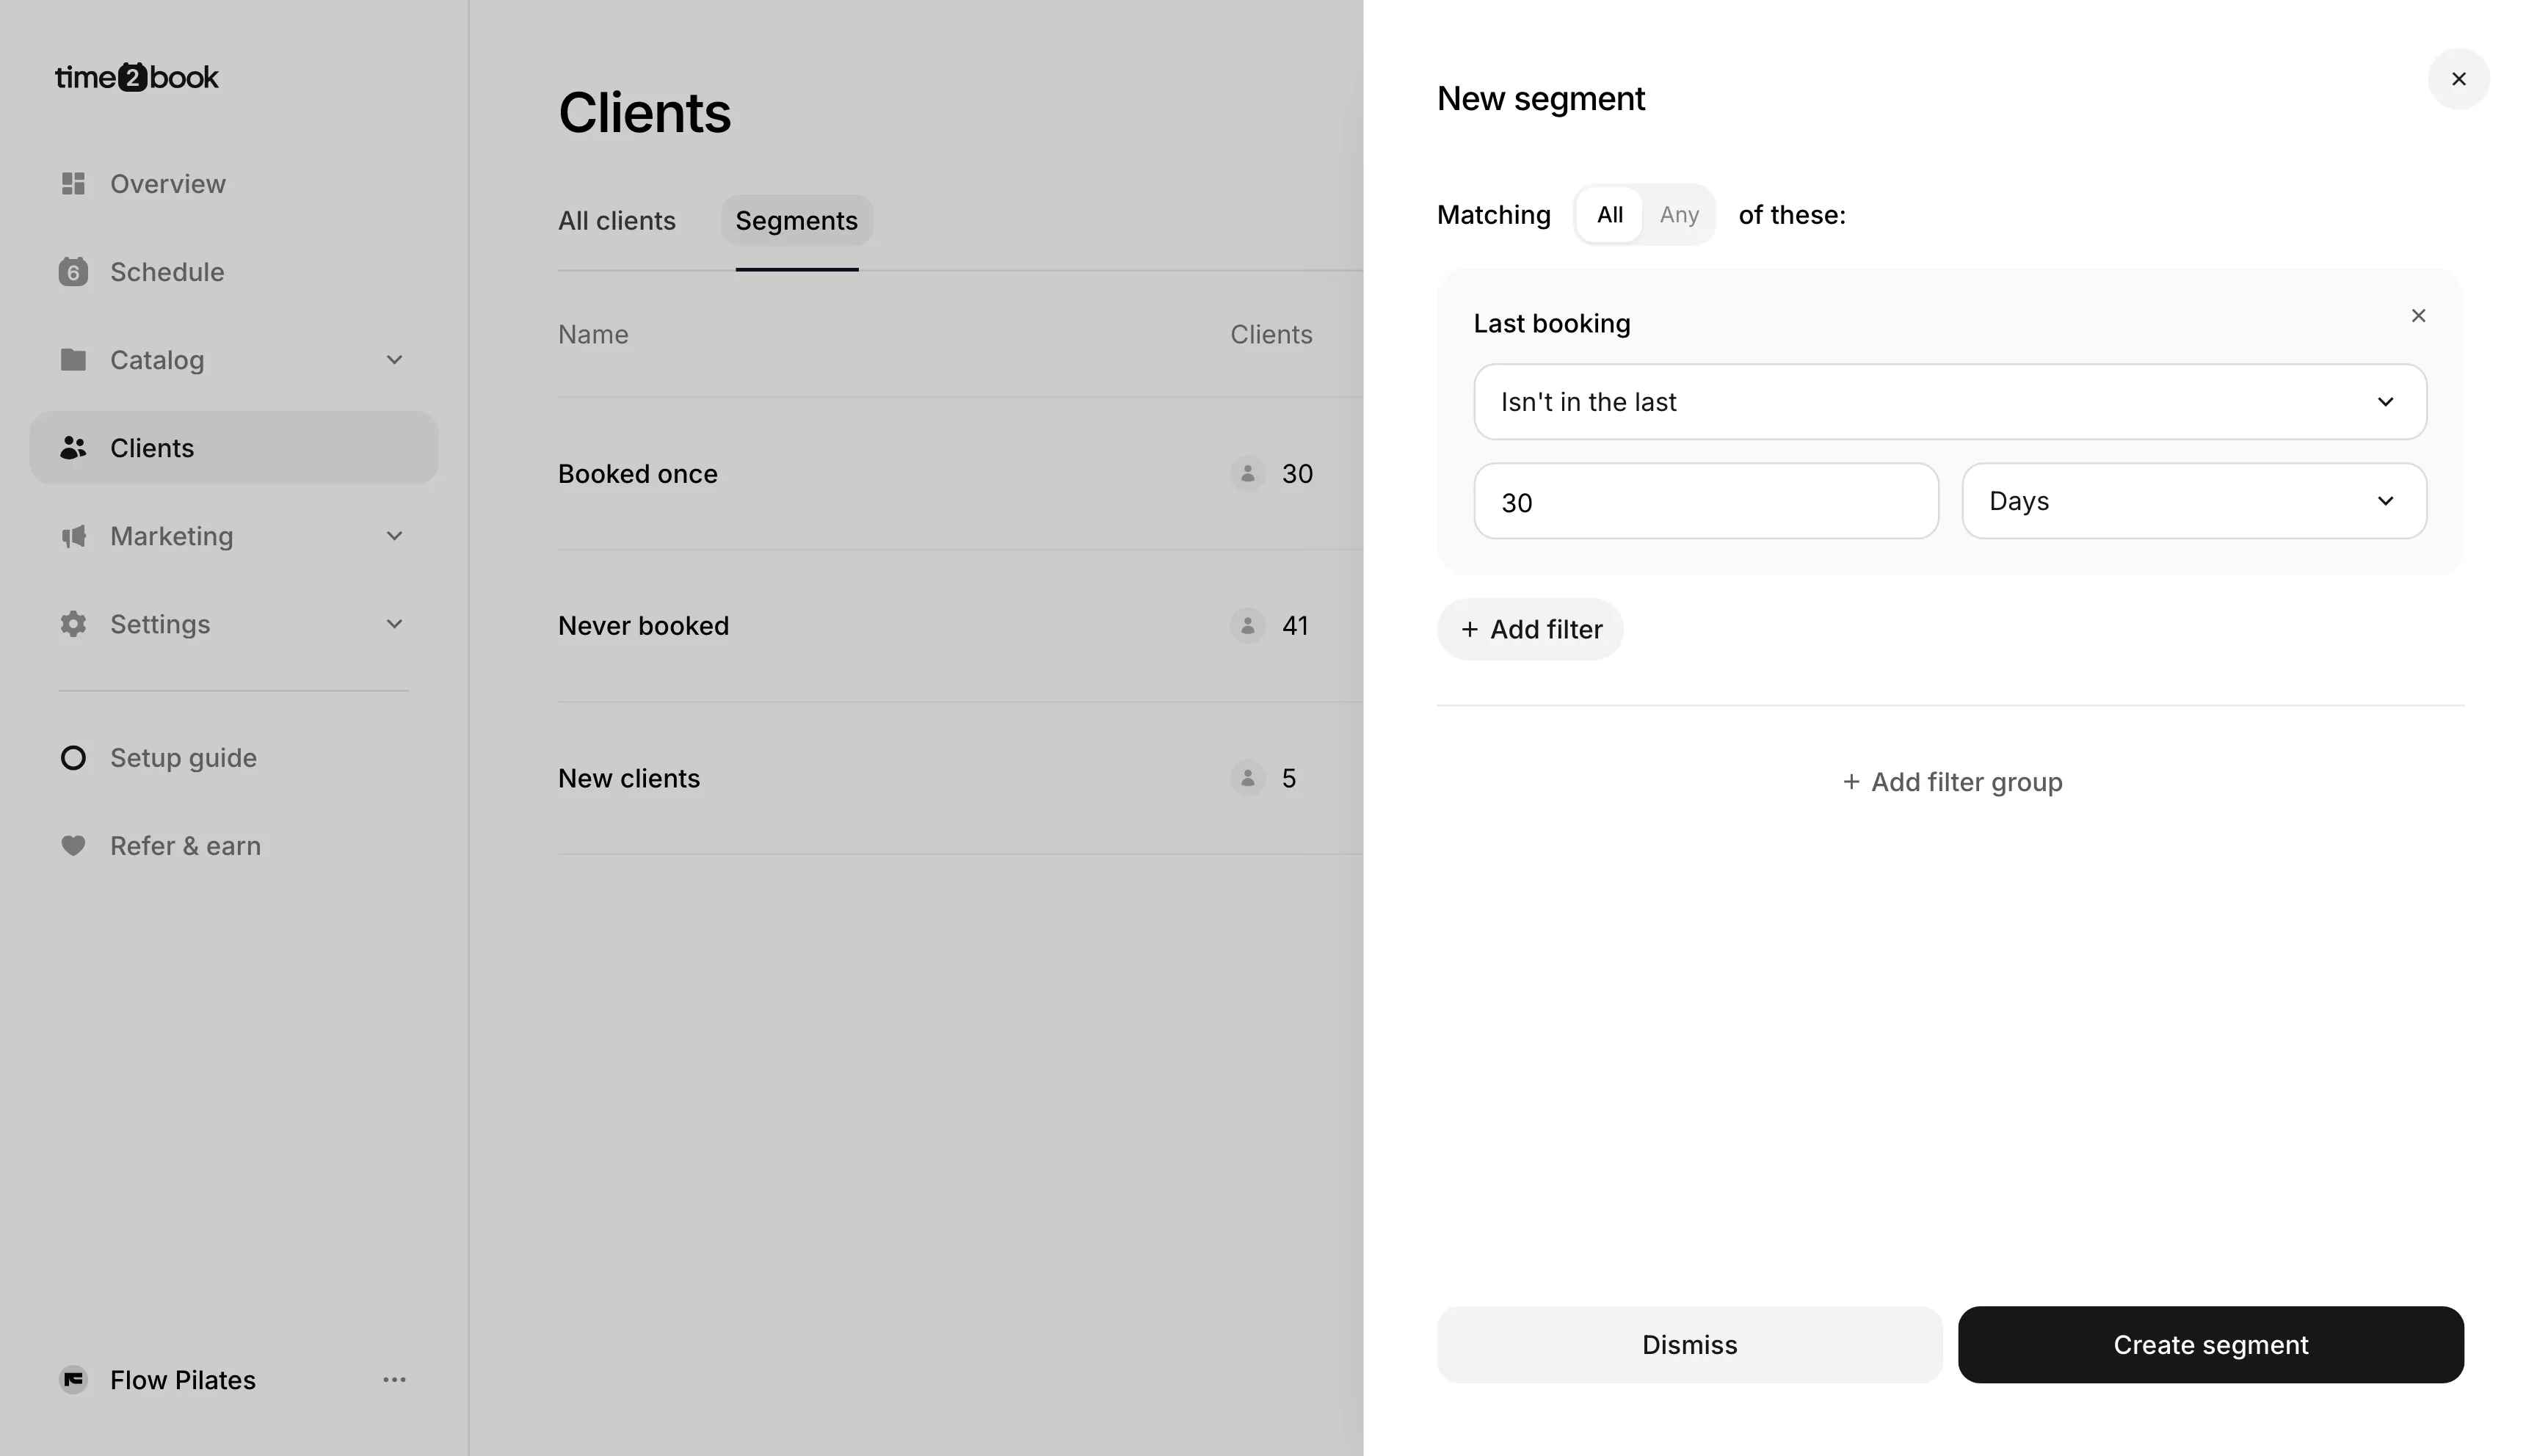
- Go to Clients → Segments and click the + button. You can also click Create segment when choosing recipients for an email.
- Pick a suggestion, such as Haven’t been in a while or One-time clients, or click Add filter to build your own.
- Click Create segment, give it a name, then click Create segment again.
Good to know
Who receives your emails: Only subscribed clients. Clients can subscribe when they sign up on your booking page. You can also turn on Marketing emails when editing a client, but only do this if they agreed to receive them.
Unsubscribing: Every email includes a link to unsubscribe, and clients can change this later in their notification settings.
Schedules and prices: A class schedule or pricing card shows the details from when you added it. If something changes before you send the email, delete the element and add it again to refresh it.