


Add a client to a class
Sometimes you may want to add a client to a class manually, instead of them booking through your public profile. In Time2book, you can do this directly from the schedule.
Step 1: Open the class in your schedule
- From the left-hand menu, go to schedule.
- Click on the time slot for the class where you want to add the client.
- The booking details panel will open.
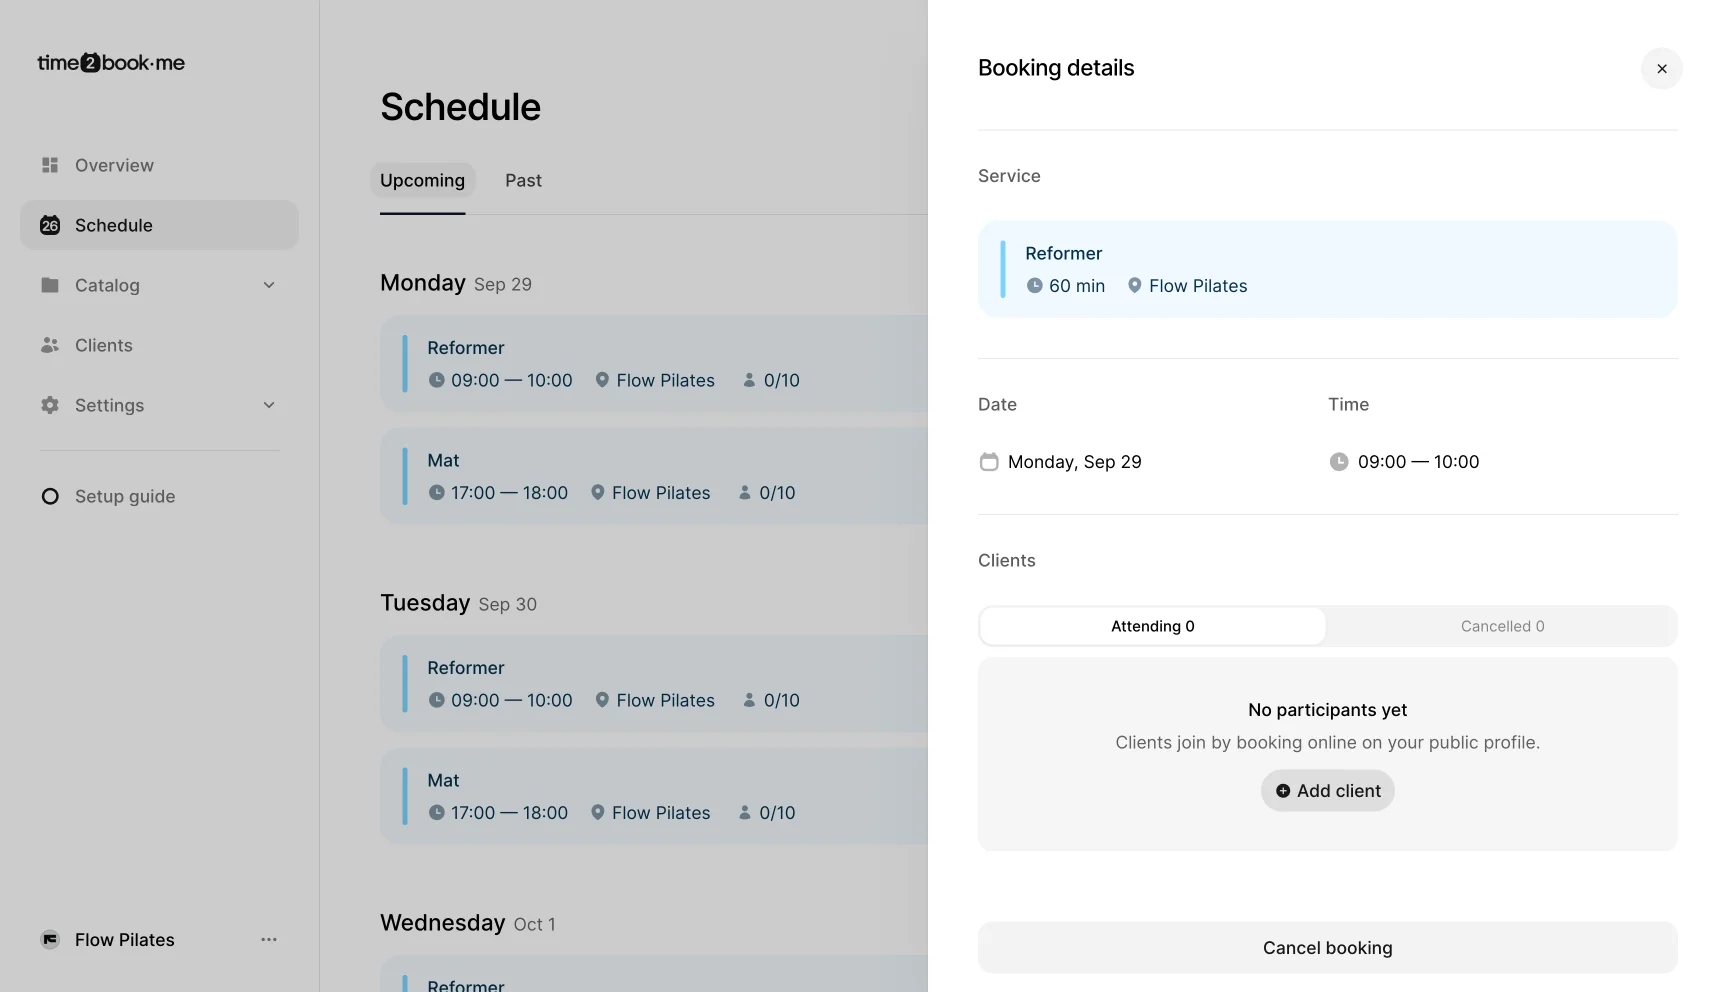
Step 2: Add a client
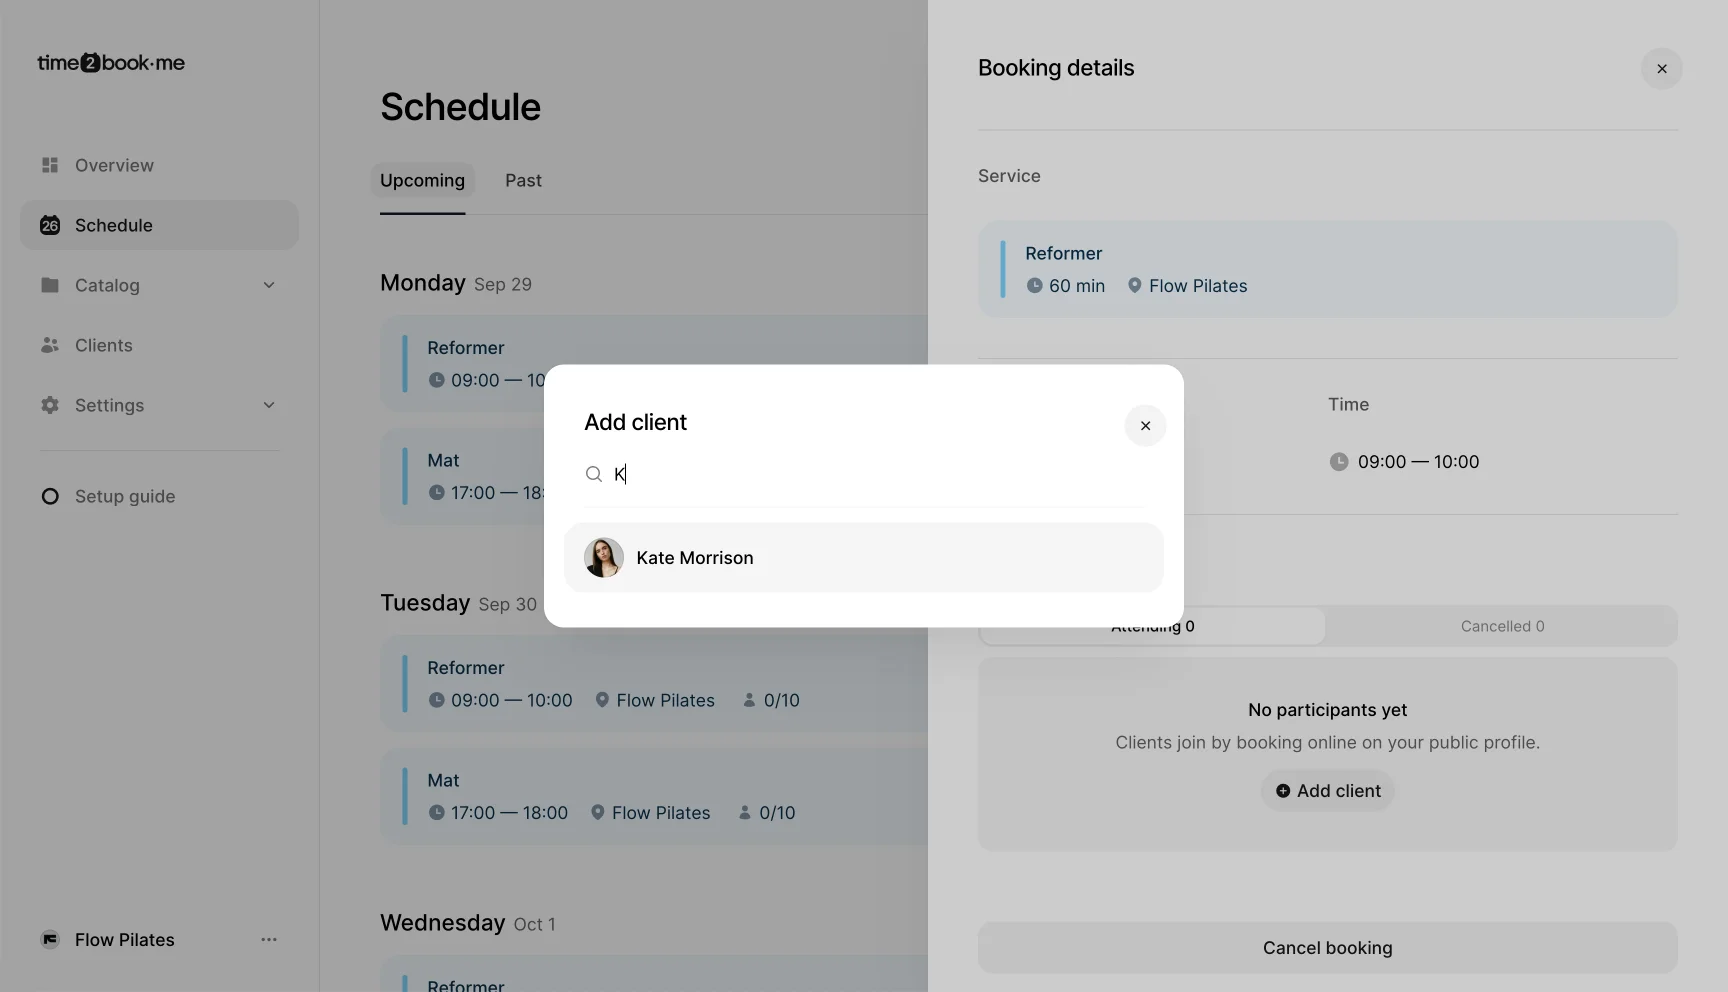
- In the clients section, click add client.
- A list of your clients will pop up.
- Use the search bar to find the client by name.
Step 3: Select membership
- After selecting a client, you’ll see their available memberships.
- Choose which membership to apply for this booking.
- If the client doesn’t yet have a membership, they can purchase it in your public profile, or you can add a membership to a client yourself.
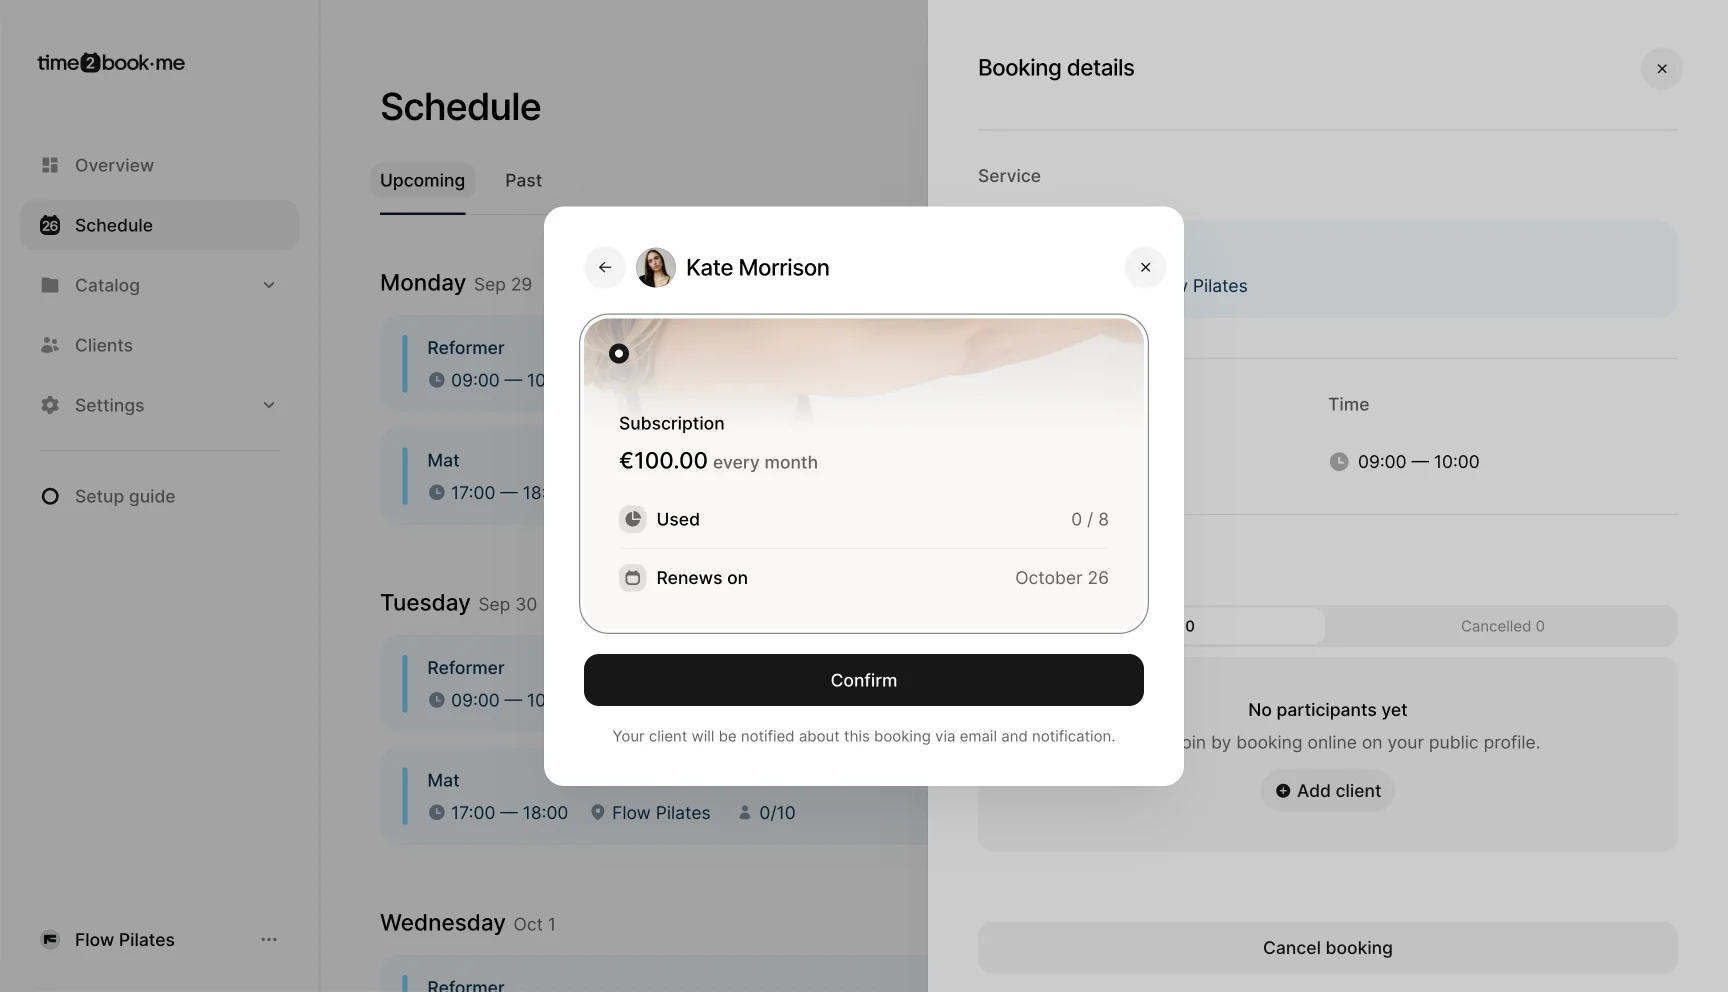
Step 4: Confirm booking
- Click confirm to finalize the booking.
- The client will be notified automatically via in-app notification and email.
That’s it
The client is now added to the class. You’ll see their name under attending clients, along with the membership used for the booking.